
[Click to Return to Day 12 Photos] [forward->]
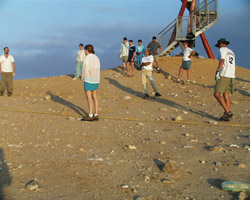
Each area is defined - Area 2 (pictured here) is 10m x 15m.
Each square in this area is 4m x 4m.
There is a 1/2m balk area between squares,
this area is used to separate each square and serves
as a safe walk way.